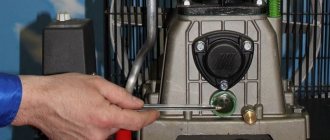
Remove the gearbox bolts located around the housing mount.
To disconnect the armature from the duralumin housing, unscrew the nut located in the gearbox housing.
Assemble the tool in reverse order.
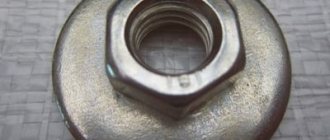
During operation, the disk can be tightened so tightly with the nut that it begins to crumble. It is impossible to unscrew the nut with a wrench. And it is not necessary to do this, because there is an option to break the angle grinder. First, break the disc all the way to the nut. Later, find an iron plate slightly thinner than the working disk. Use it to grind off the remaining disk under the nut. It can simply be unscrewed with a key or by hand. To avoid bringing the tool to this task, place a washer under the nut.
For some angle grinders, for example, Bosh, the casing is not bolted on, but snapped into place. To remove it, you need to turn the cutout of the casing perpendicular to the angle grinder. To put it on, turn until it clicks.
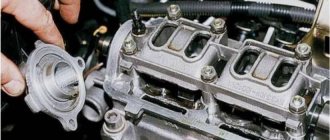
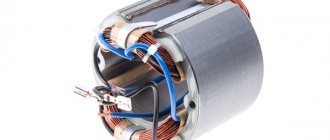
The stator is checked with a multimeter.
- Interturn closure. Set the resistance mode to 200 Ohms. Connect the probes of the device to the ends of one winding. One means a break, and zero means a short circuit between the turns. If it indicates a resistance of more than 1.5 ohms, then inspect the second winding. Both windings have approximately the same resistance.
Breakdown to ground or short circuit of the winding with the iron stator housing. Set the multimeter to the highest resistance setting. Connect one probe to the end of the winding, the other probe to the iron stator housing. One indicates the absence of a breakdown.
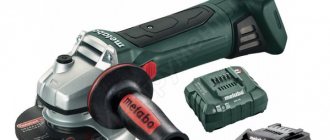
How to repair a Bosch angle grinder The power has dropped It sparks a lot Repairing the GWS 850 ce tool
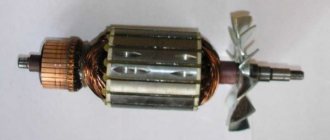
First, visually inspect the commutator and winding. There will be visible damage: black marks, bent winding turns, raised, worn, or in other words burnt commutator plates. After inspection, proceed to check with a tester.
- Set the resistance to 200 ohms. Connect the probes of the device to the 2 adjacent collector plates. If the resistance is uniform between all adjacent plates, it means the winding is working. If the resistance is less than 1 ohm and very close to zero, short circuits between the turns occur. If the resistance is two or more times higher than average, it means there is a break in the winding turns.
The determination of breakdown to ground is made if the passage does not have a winding break. Set the device scale to the highest resistance. Depending on the tester, you will like it more from 2.7 MOhm to 200 MOhm. Connect one probe to the shaft, and the other to each plate in turn. If there are no defects, the resistance should be set to zero. Do the same with the rotor. Connect one probe to the steel rotor body, and move the other along the plates.
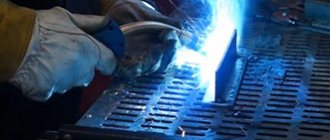
Mechanical damage
The Bosch angle grinder is designed to perform cutting, grinding, and polishing work. Operating a tool in dust under heavy loads has a particularly detrimental effect on the durability of the gearbox, namely its gears.
READ How to Cut Tiles with a Grinder
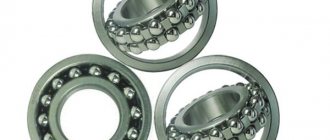
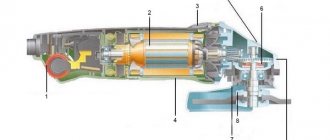
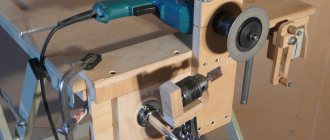
Replacing the gear bearing in a Bosch angle grinder
In addition to wear and breakage of gear teeth, mechanical failures include destruction of bearings and housings. Repairing a Bosch in terms of replacing failed bearings and restoring the housing is not difficult to perform if there is a desire and need.
IRomanoff › Blog › Bulgarian, don’t growl!
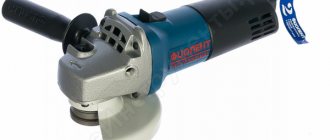
I’ll tell you a secret - everything in this blog made of iron was cut with one single grinder, my favorite Hitachi G13SR3. Today I already have three of them, separately for stripping and cutting, but I started with one, and let’s talk about it:
Small, light, with power quite sufficient for my tasks, it did everything, cut everything and was in whose hands it was, but... But nothing lasts forever and recently the machine began to make some unnatural sounds, which tended to intensify . I decided to open it and make a defect before the gearbox finally jams and chews, after all, a correct rebuild is always preferable to replacement